FINALLY!
After, literally, months of crafting, waiting, searching for menial things, and eventual problem-solving I can post my living room renovation blog!
In fact, this has been so long in the making I have had to go to three different sources to find all the videos and pictures I have taken to document this process (this, of course, does not include any of the websites I will be referencing).
Ok, so our little apartment in Korea really is a great size for us right now (especially since we don't have all our stuff). But as any woman will tell you, a little bit of nesting has to happen no matter how small the space. Just a little something to make it "homey" and to make it really "ours." Not to mention, the stains on the walls that just won't come off really start to wear on you after a while (especially when they weren't your stains to begin with).
A relatively cheap and easy fix? PAINT! I also like to think of it as tennent-improvement-of-property. As you will see in the following I've made a few other minor additions (that took WAY more time and energy than they should have for how they turned out!), but by far the biggest difference has been made with a simple coat of paint.
My coworker and friend, Jennifer, came over the first Saturday in October (yes, I'm ashamed to admit, it's been THAT long) and in about 4 hours we were finished and I was taking tape back off the walls.
Here is a "before" video with the details...
And another with our "tools of the trade."
We listened to General Conference, visited a little, and made quick work of it. I did all the edging, and Jennifer did all the rolling.
Here's the finished product!
Can you believe what a difference that made? It's been HUGE! For weeks, and sometimes still, I come out and feel like I've walked into someone else's apartment. Beside the great addition of color, it's so nice to feel like the walls are clean.
For additional accent we also placed a few vinyl clings on the walls.


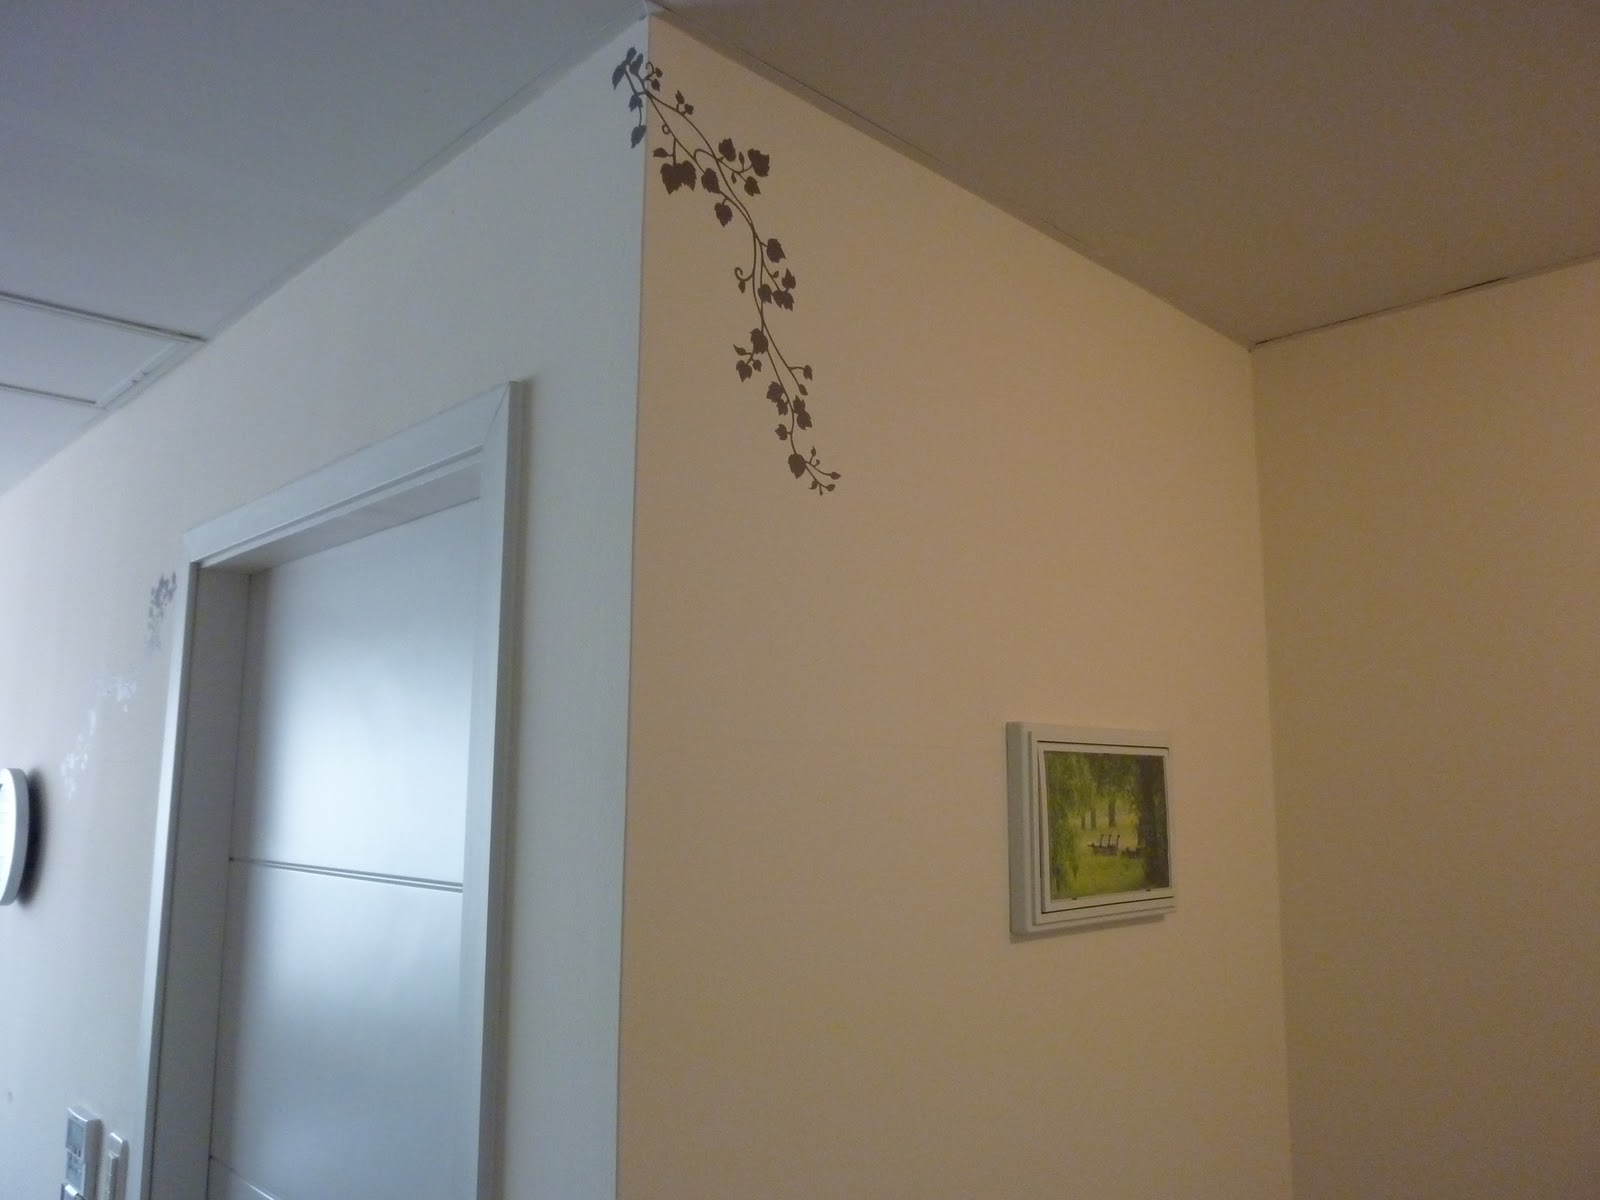
(And, uh, PLEASE don't mind the mess...)
Another project, which I had actually started before, but did not complete until after the painting, was finding a suitable covering for the main light in our living room. All our lights are fluorescent and it's just a little too bright for the larger area.
While browsing through Pinterest I saw this really cool coffee filter lamp, and I thought, "I could do that!" Except I wasn't so comfortable permanently adhering coffee filters to our light fixtures, so I had to come up with a different way.
The first thing I wanted to do was stain the filters with a variety of colors so it would look more like stained glass. I chose to do green tea, and coffee (leaving the filters in for different amounts of time to let them absorb more or less color for lighter or darker hues).
There was only one problem. Coffee filters in Korea come in the unbleached form. Meaning? They're already brown. I decided to try coloring them anyway. And if it was all for naught, oh well!
Here are the filters in their varying stages.


The coffee water was pretty murky. I used about 10 packets of instant coffee in about 1 1/4 cups of water. Our apartment reeked of it for days.
The unfortunate truth is, it didn't really work. Oh well! Next it was time to figure out how to attach the filters to the fixture. Initially I tried double-sided sticky roll-on (I thought I was buying tape, it was my own fault for not checking more closely). It failed miserably. Especially when facing the air conditioner blowing at full speed.
So the coffee filter light filter came down for a while. Then I followed Adam's idea and chained them together using a stapler. Each chain was fixed to the next in three places. I then taped the chains securely to the fixture. It's both easy to remove when a light bulb burns out, and has a nice canopy/billowy effect (especially when the heat turns on and it blows!).

Next was something for my big wall. It was nice and clean and brown now. And very, very empty. Once again I was perusing Pinterest (see! People actually make stuff happen from that site, it's not just a soul-sucking waste of time!), and I found this...

It was simple, It made a statement. It was perfect. Why is it perfect, you may ask. Because it's made of toilet paper rolls and spray paint! I didn't have access to a cheap canvas from Michael's like the original crafter did, but I figured I could make do. And I knew I had access to spray paint and toilet paper rolls.
So for weeks I meticulously collected our empty rolls (honestly, I still find myself in the habit of wanting to keep them "just in case" I find something else really excellent to do with them) as well as paper towel rolls, since they're the same diameter and a bit longer.
For a background I had the ingenius idea to use the little boxes our packages of noodles came in, along with a couple of cereal boxes, and the final addition was the box our shoe rack came in. They were different lengths, heights, and depths. I figured it could be really cool to have them that way.
Finally, the day came to paint. I was going to spray the boxes white and the flowers/butterflies/what-have-yous brown.
Here are the photos from that day.


I was ready to roll! Until, that is, I realized in a very short period of time that my "white" spray paint was actually just a clear topcoat, and my toilet paper rolls needed much more than a single can of brown, as they quickly absorbed the entire thing.
If I were doing this again (at home, in English, where I know what things are) I would use a primer, as was suggested by the original crafter, to avoid using so much color on the toilet paper rolls. But that didn't solve my problem of the background. If that wasn't white, then there was no white to be found where I do my shopping.
A new plan was needed. And it took until Christmas Eve when Adam and I were wrapping our presents that I realized the embossable foil paper we bought would be perfect. So yesterday I picked up two more rolls at the store, two more cans of brown spray paint, and we were back in business.
I had agonized over the shape and design for a long time when I did the initial layout back in OCTOBER, so I just stuck with it as I was putting things together this time. Now, looking at the completed project, I think I would have played with the space on my wall a little differently. But I still like it.
The only problem was I didn't mirror the picture when I was assembling things from behind, so it actually turned out a reverse of the original design.
Alas here it is!


This last picture is how it looked in the morning light today, and it helped me to like it even more.
That's it! Renovation is complete!
Now, for some lucky little add-ons.
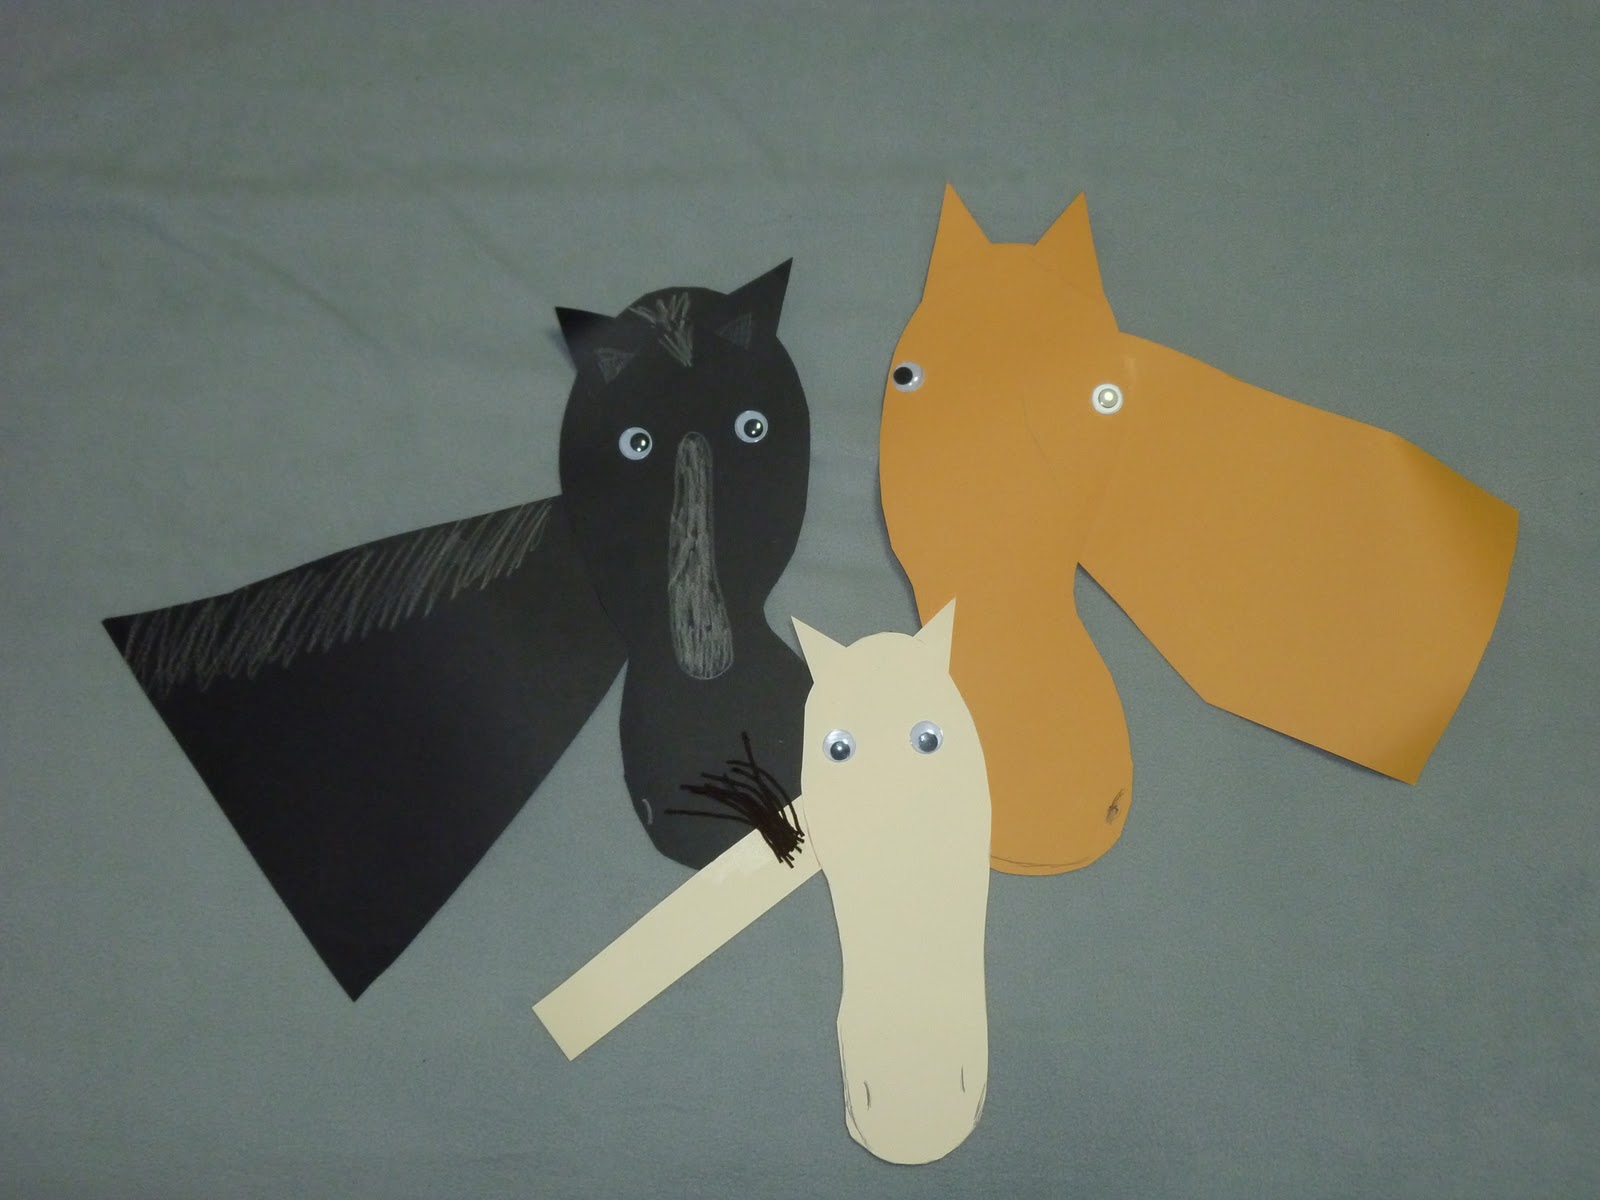
Last VIP Adam and I taught students a Western class where you make a horse's head with your foot, then add googly eyes, a triangle neck, and some yarn for a mane (notice that none of us got that far). I made one with a class, and so did he. Then a student gave her's to Adam, so we had a little horse family! Points if you can guess whose horse is whose!
Also, Christmas this year was pretty low key, but we decided to get a little taste of home (or close to it). Here's a little video of that as well. Enjoy!